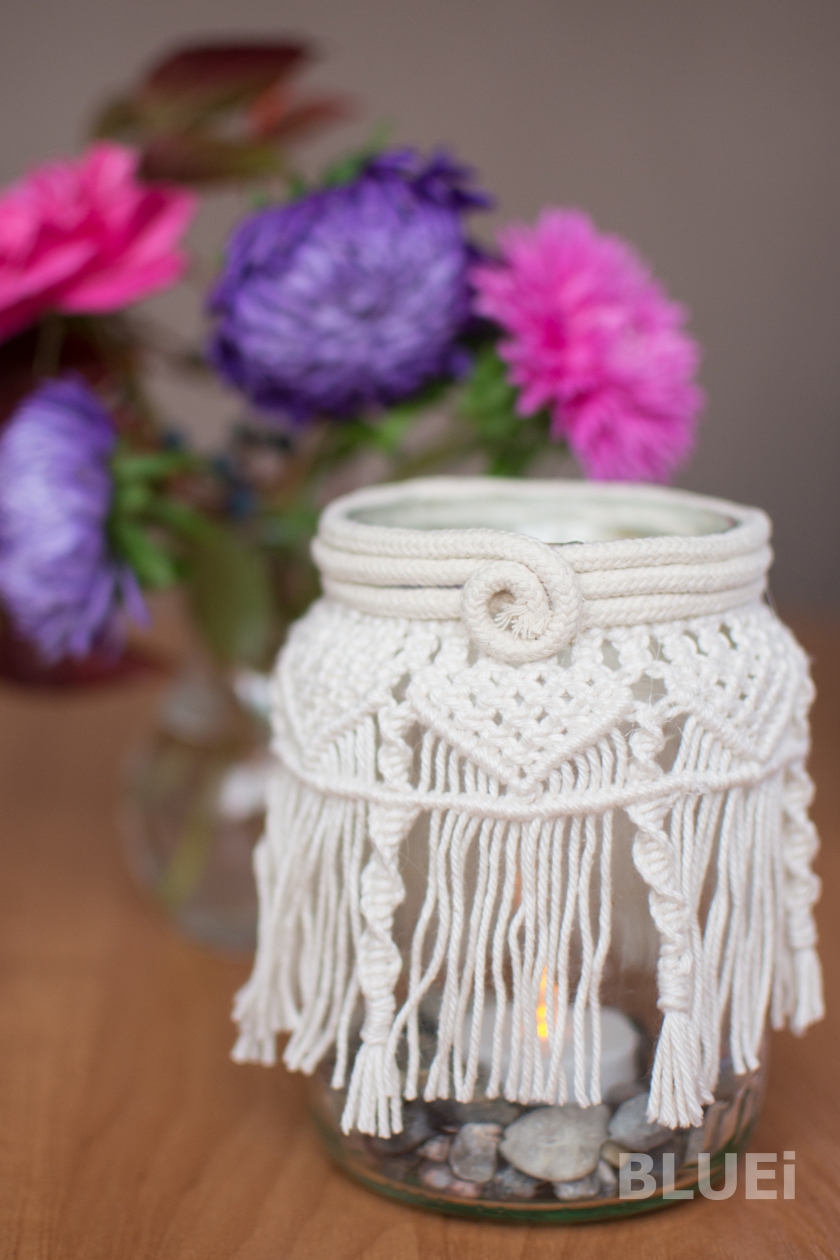
Macramé jar holder is really easy to make. You just need string, empty jar and scissors. You can use any type of string (synthetic, natural, twine, yarn, etc.). My favorite is cotton yarn. I also use very simple jar, nothing fancy.
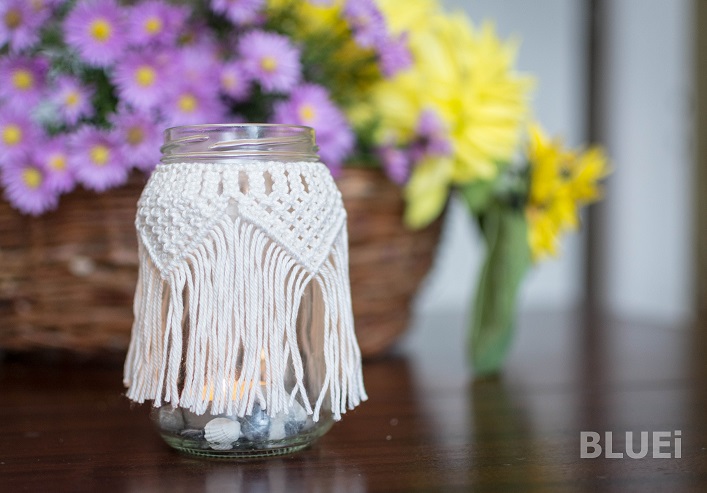
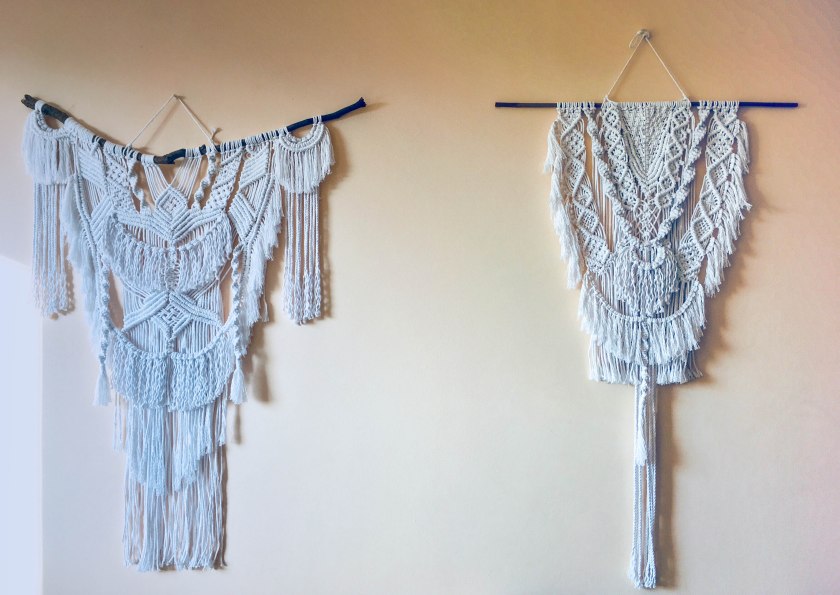
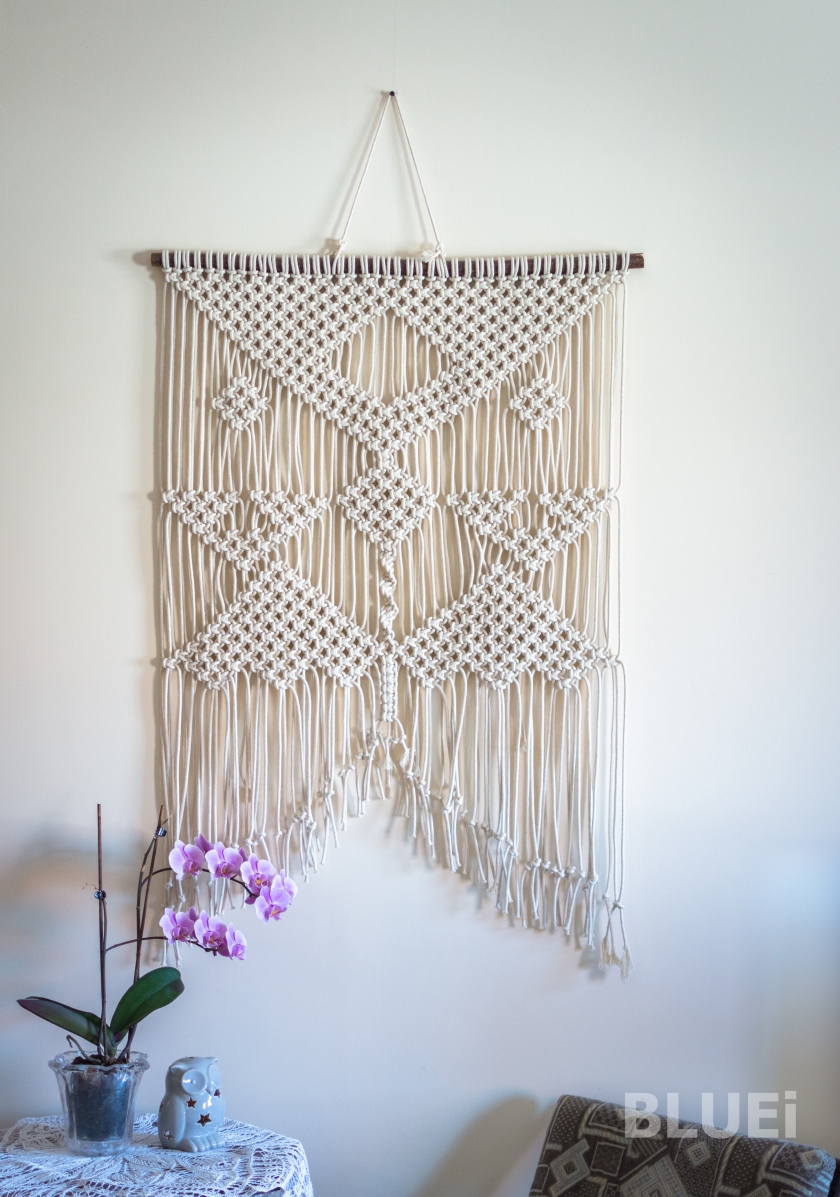
You can add candle and fill bottom of the jar with sand, stones or shells, and you have beautiful bohemian candle holder. Or you can use it as a stunning flowers vase. Macrame jar holder is very decorative and perfect for weddings, holiday house, terrace, garden party, rustic and bohemian style.
Here is short tutorial how to create this pretty home decor. For full version – visit my website www.blueicrafts.com – There is free PDF photo tutorial with many pictures and information.
TO MAKE MACRAME CANDLE HOLDER:
- You need: cotton yarn, empty jar, scissors
- Cut long cord which you will tie around the jar (cord A)
- Cut many long cords (cord B)
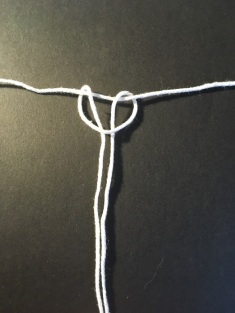
- Larks Head Knot – To attach all cords B to cord A we will use Larks Head Knot. Fold cord B in half and place it under cord A. Pull the ends of cord B through the loop. Pull tight. Repeat with all other cords B.
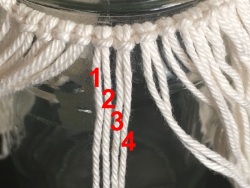
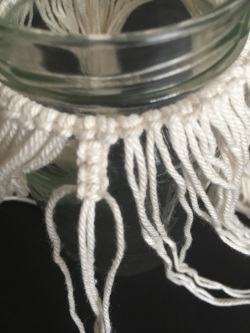
- We will begin our design with sennit of square knots. Tie cord A around the jar and cut ends. Take four cords (1,2,3,4) to make square knot:
a) Bring the right cord (4) to the left under the two middle cords (2,3) and over the left cord (1). Bring the left cord (1) to the right over the two middle cords (2,3) and under the right cord. Pull right and left cords (1,4) to tie knot securely.
b) Bring the right (4) cord to the left over the two middle cords (2,3) and under the left cord (1). Bring the left cord to the right under two middle cords (2,3) and over the right cord (4). Pull left and right cords (1,2) to secure knot.
Check this video – how to make square knot.
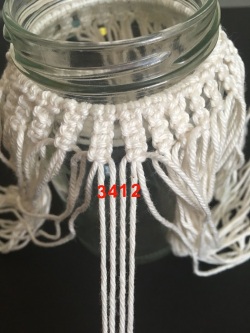
6. Make sennit of 3 square knots on each 4-cord group. (Sennit – chains of knots, tied one after another)
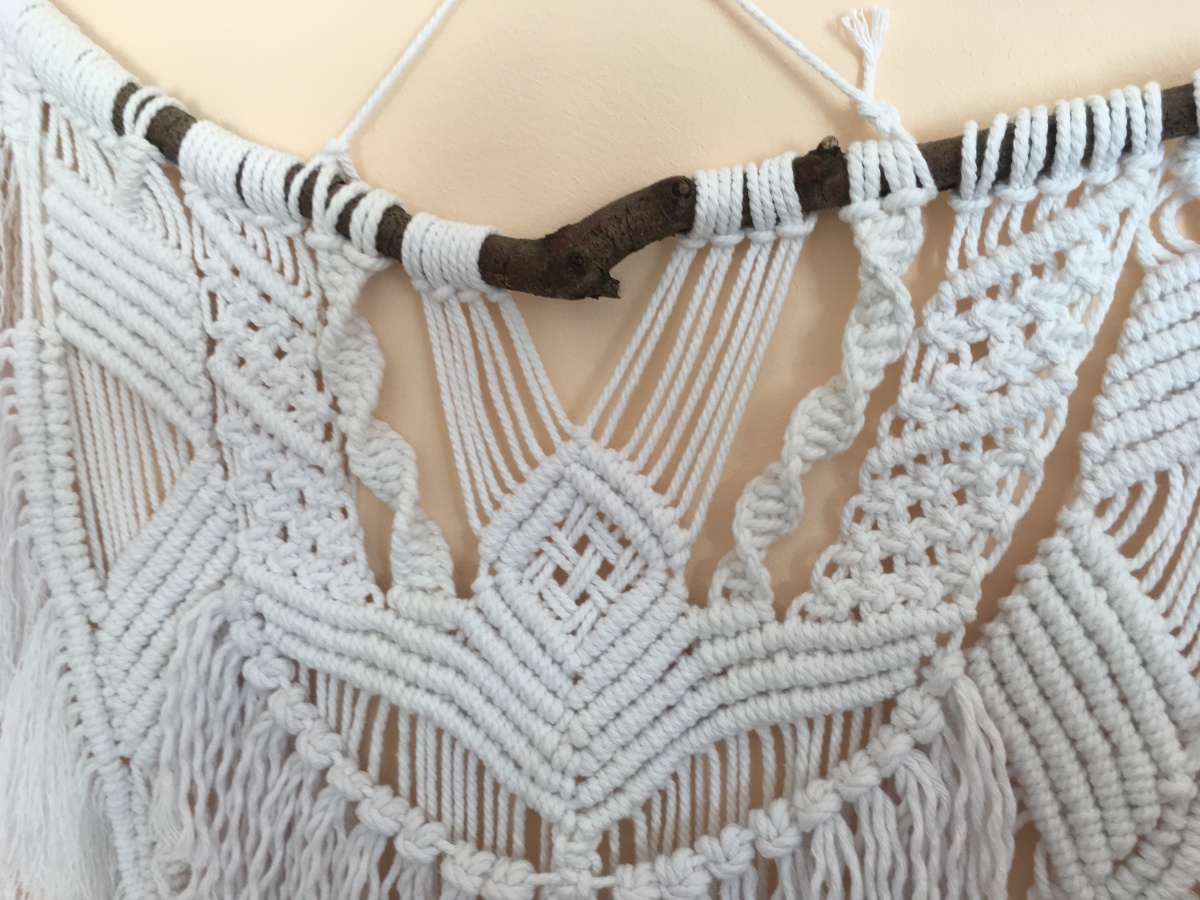
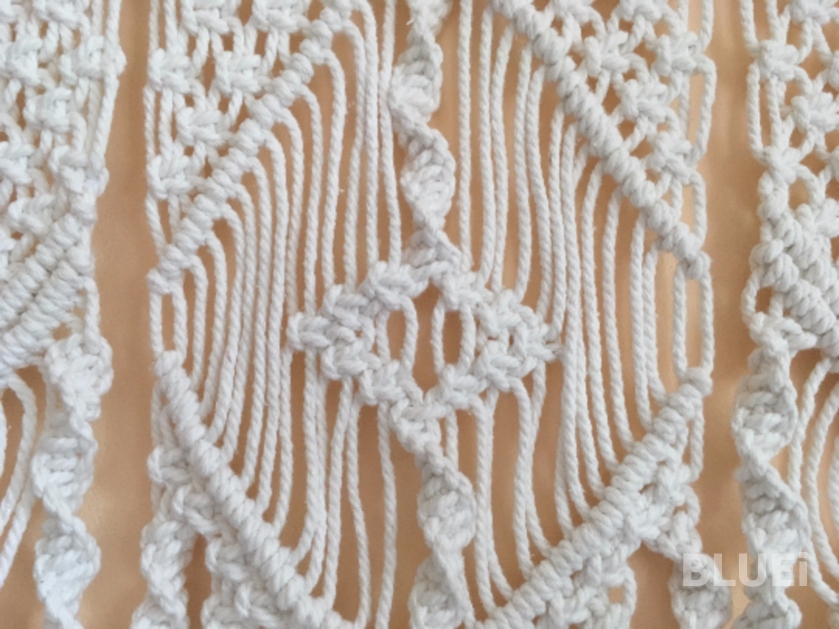
7. Row 4. Triangles – alternating square knots.
 Divide your cords into equal sets to make triangles. To make triangle use alternating square knots – select two right cords (3,4) from one sennit and two left cords (1,2) from next sennit and make square knot.
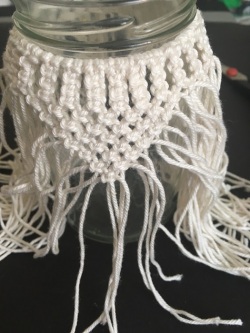
For my project to create triangle I made: Row 4 – 7 alternating square knots, Row 5 – 6 alternating square knots, Row 6 – 5 alternating square knots, Row 7 – 4 alternating square knots, Row 8 – 3 alternating square knots, Row 9 – 2 alternating square knots, Row 10 – 1 alternating square knot.
I made 3 more triangles using same pattern.
8. Diagonal double half hitch
a) left-to-right
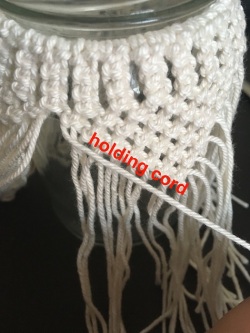
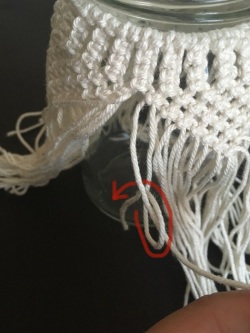
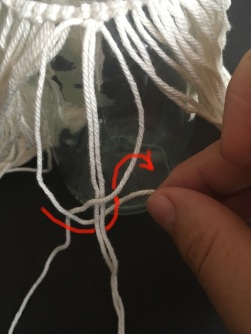
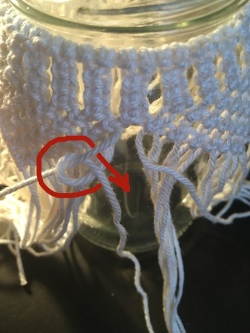
Take the far left cord (holding cord) from first left alternating square knot and place it diagonally over all other cords (working cords). Take far left working cord and make loop counter-clockwise around holding cord (see photo). Pull working cord firmly. Repeat with the same cord to complete the double half hitch. Continue double half hitch with all other working cords.
b) right-to-left

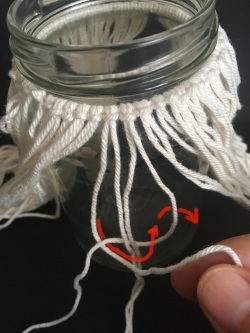
Take the far right cord (holding cord) from last right alternating square knot and place it diagonally (to the left) over all other cords (working cords). Take far right working cord and make loop clockwise around holding cord (see photo). Pull working cord firmly. Repeat with the same cord to complete the double half hitch. Continue double half hitch with all other working cords.
To finish design, take left working cord and right working cord and make double half hitch knot clockwise.
Check this video – how to make diagonal double half hitch.
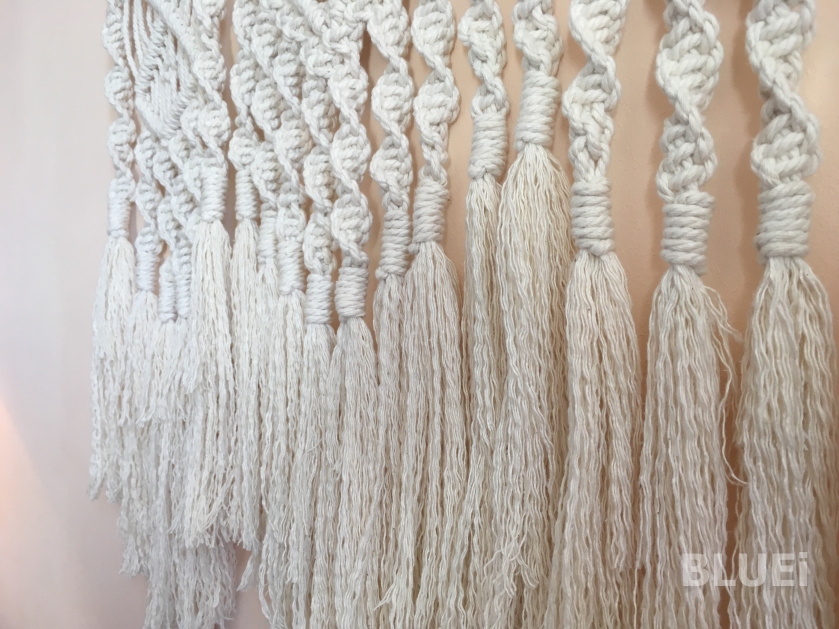
9. Cut the ends of all cords. Finito!!!
Just add candle and you have beautiful macrame candle holder!

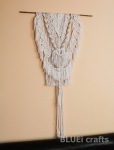
For more patterns, ideas and inspirations visit my website www.blueicrafts.com
For full free PDF version How to make macrame candle holder click HERE